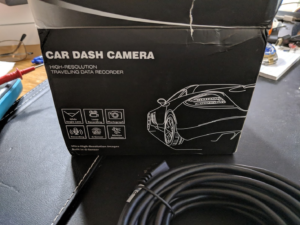
Ingredients. 1 generic ‘Car Dash Camera’. Its so generic there is not a model number anywhere on it or the packaging. Nothing. I got it from Aliexpress here. It was described as ”
WiFi Car DVRs Recorder Dash Cam Dual Lens Vehicle Rear Camera Built in GPS Camcorder 4K 2160P Night Vision Dashcam Novatek 96663″. The 4K is a bit of a hmm. It is a pair of 1080P cameras (front, rear). Not exactly 4K, but we’ll go w/ it.
It uses a Sony IMX323 sensor, which is something you need to look for in ‘generic chinese cameras’. You can easily end up with a ‘gopro 4k like’ which sure, it records @ 4K, but the sensor is vaseline and waxed paper, the effective resolution is more like QCIF. But I digress. It has GPS (for speed) and WiFi (so you can install the worlds crappiest app to really do nothing with), and shock-sensor (to lock the recording if you bump). Interestingly it also has a super-capacitor in it for clean power down when you yank the power (and also for parking monitoring… if you are bumped while parked, it will take 60s of capture and snooze again).
Not content with 4G or 5G, they have gone with a 6G lens. Sounds great!
Somehow the 2 x 4MP sensors become 12MP when joined. The marketing specs are… aggressive!
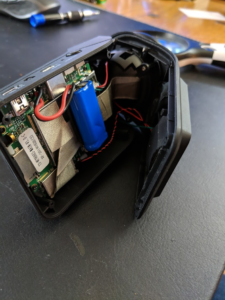
To find out what was inside, first we employed a screwdriver. The only label is T3-NT96663 (Novatek). I’ve attached the datasheet which comes from ip dashcamtalk.Novatek NT96655 Data Sheet
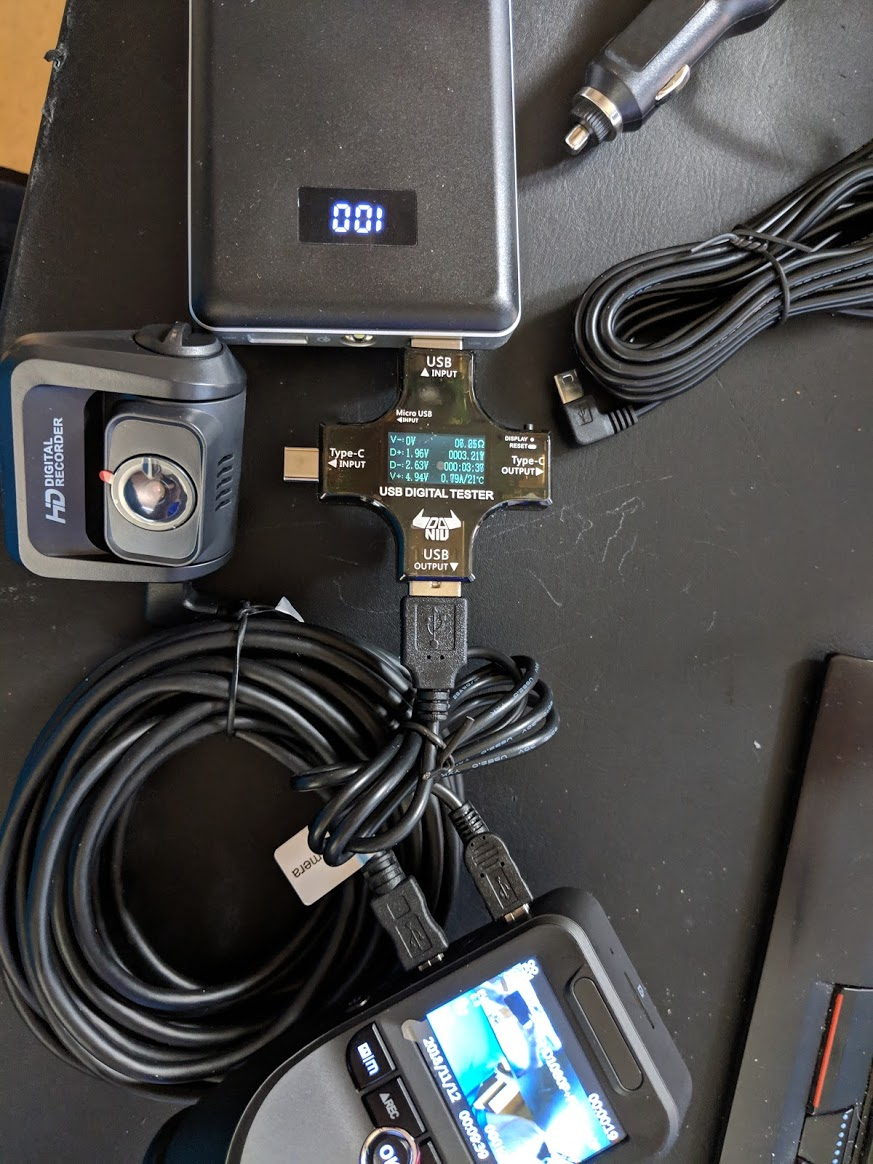
Now, I was wondering, do I wire it to be ‘always on’ or to be ‘Retained Accessory Power’ (e.g. switched). Lets look at the power draw. It seems like its 0.8A @ 5V, so ~4W. Now, you might think, well, the Bolt has a 60KWh battery, run it all the time, how can this matter. But, like all electric cars, there is a small 12V lead-acid battery lurking in there which is used to drive everything except the traction power. Still, that is ~80Ah @ 12V nominal, ~= 960Wh. So at perfect efficiency (hah! physics!) we’d have 240 hours to ‘full flat’, 10 days. Derate by probably 75% (don’t want to run a lead-acid down too far, some innefficiency), we’d be good for a few days. Hmm. I’ll revisit later and put it on a RAP circuit.
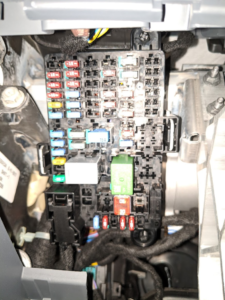
Wiring was simple. I considered wiring it into the overhead console power (onstar, dome lights), but instead drove it back to the fuse panel where there were quite a few blanks. I used an ‘add-a-circuit’ micro-fuse tap. I then put it into a small buck converter. The wiring was easy to run (up the kick-panel, up the A-pillar, across the roof) in the lip under the wind-seal. I then wired the rear-camera by wiring from front to rear along the wind-seal and headliner lip. You cannot see the wires at all. The pain bit was getting it through the rubber boots into the hatch-back assembly. For this I used a ‘fish stix’ to fish it. A few stickers, and we are good to go. You can see the fuse panel at the right, lots of empty space to be used (but the add-a-fuse can share an existing tap if needed).
Now on to the app. Oh dear. Rated 1.8 on the Play Store. This will be wonderful. Well, all I can say is, it kind of works if you are patient. ‘Roadcam’ is the name that eventually worked for me, there are a lot, and with such a generic device (no model name at all)…
The user manual… well… it gets the job done. I’m not sure the grammar is world-class, but the concepts come through.
Does it work? Lets see some video (from the rear cam firsts, then the front) for the maiden run:
Leave a Reply