 So I have this gas fireplace. And its heading into fireplace season. And, shockingly, its controlled by a fairly old-school honeywell thermostat. I mean, it works. But… its got a lot of cons. It uses 2 x AAA batteries. In my house, these always die sometime before it gets used for the season. Also, it won’t accept NiMH rechargeables (it turns off @ 2.4V, and 2xNiMH == 2.4V). It doesn’t understand if I leave the room to turn off. It can’t do timers. And it has no IP address, no automation. Hmm.
OK, this should be an easy problem to solve right? So, first, lets understand how it works. First, whats behind it? Well, the backplate has 2 wires connected. So its not suitable for a Nest or an Ecobee (no 24V, no common).
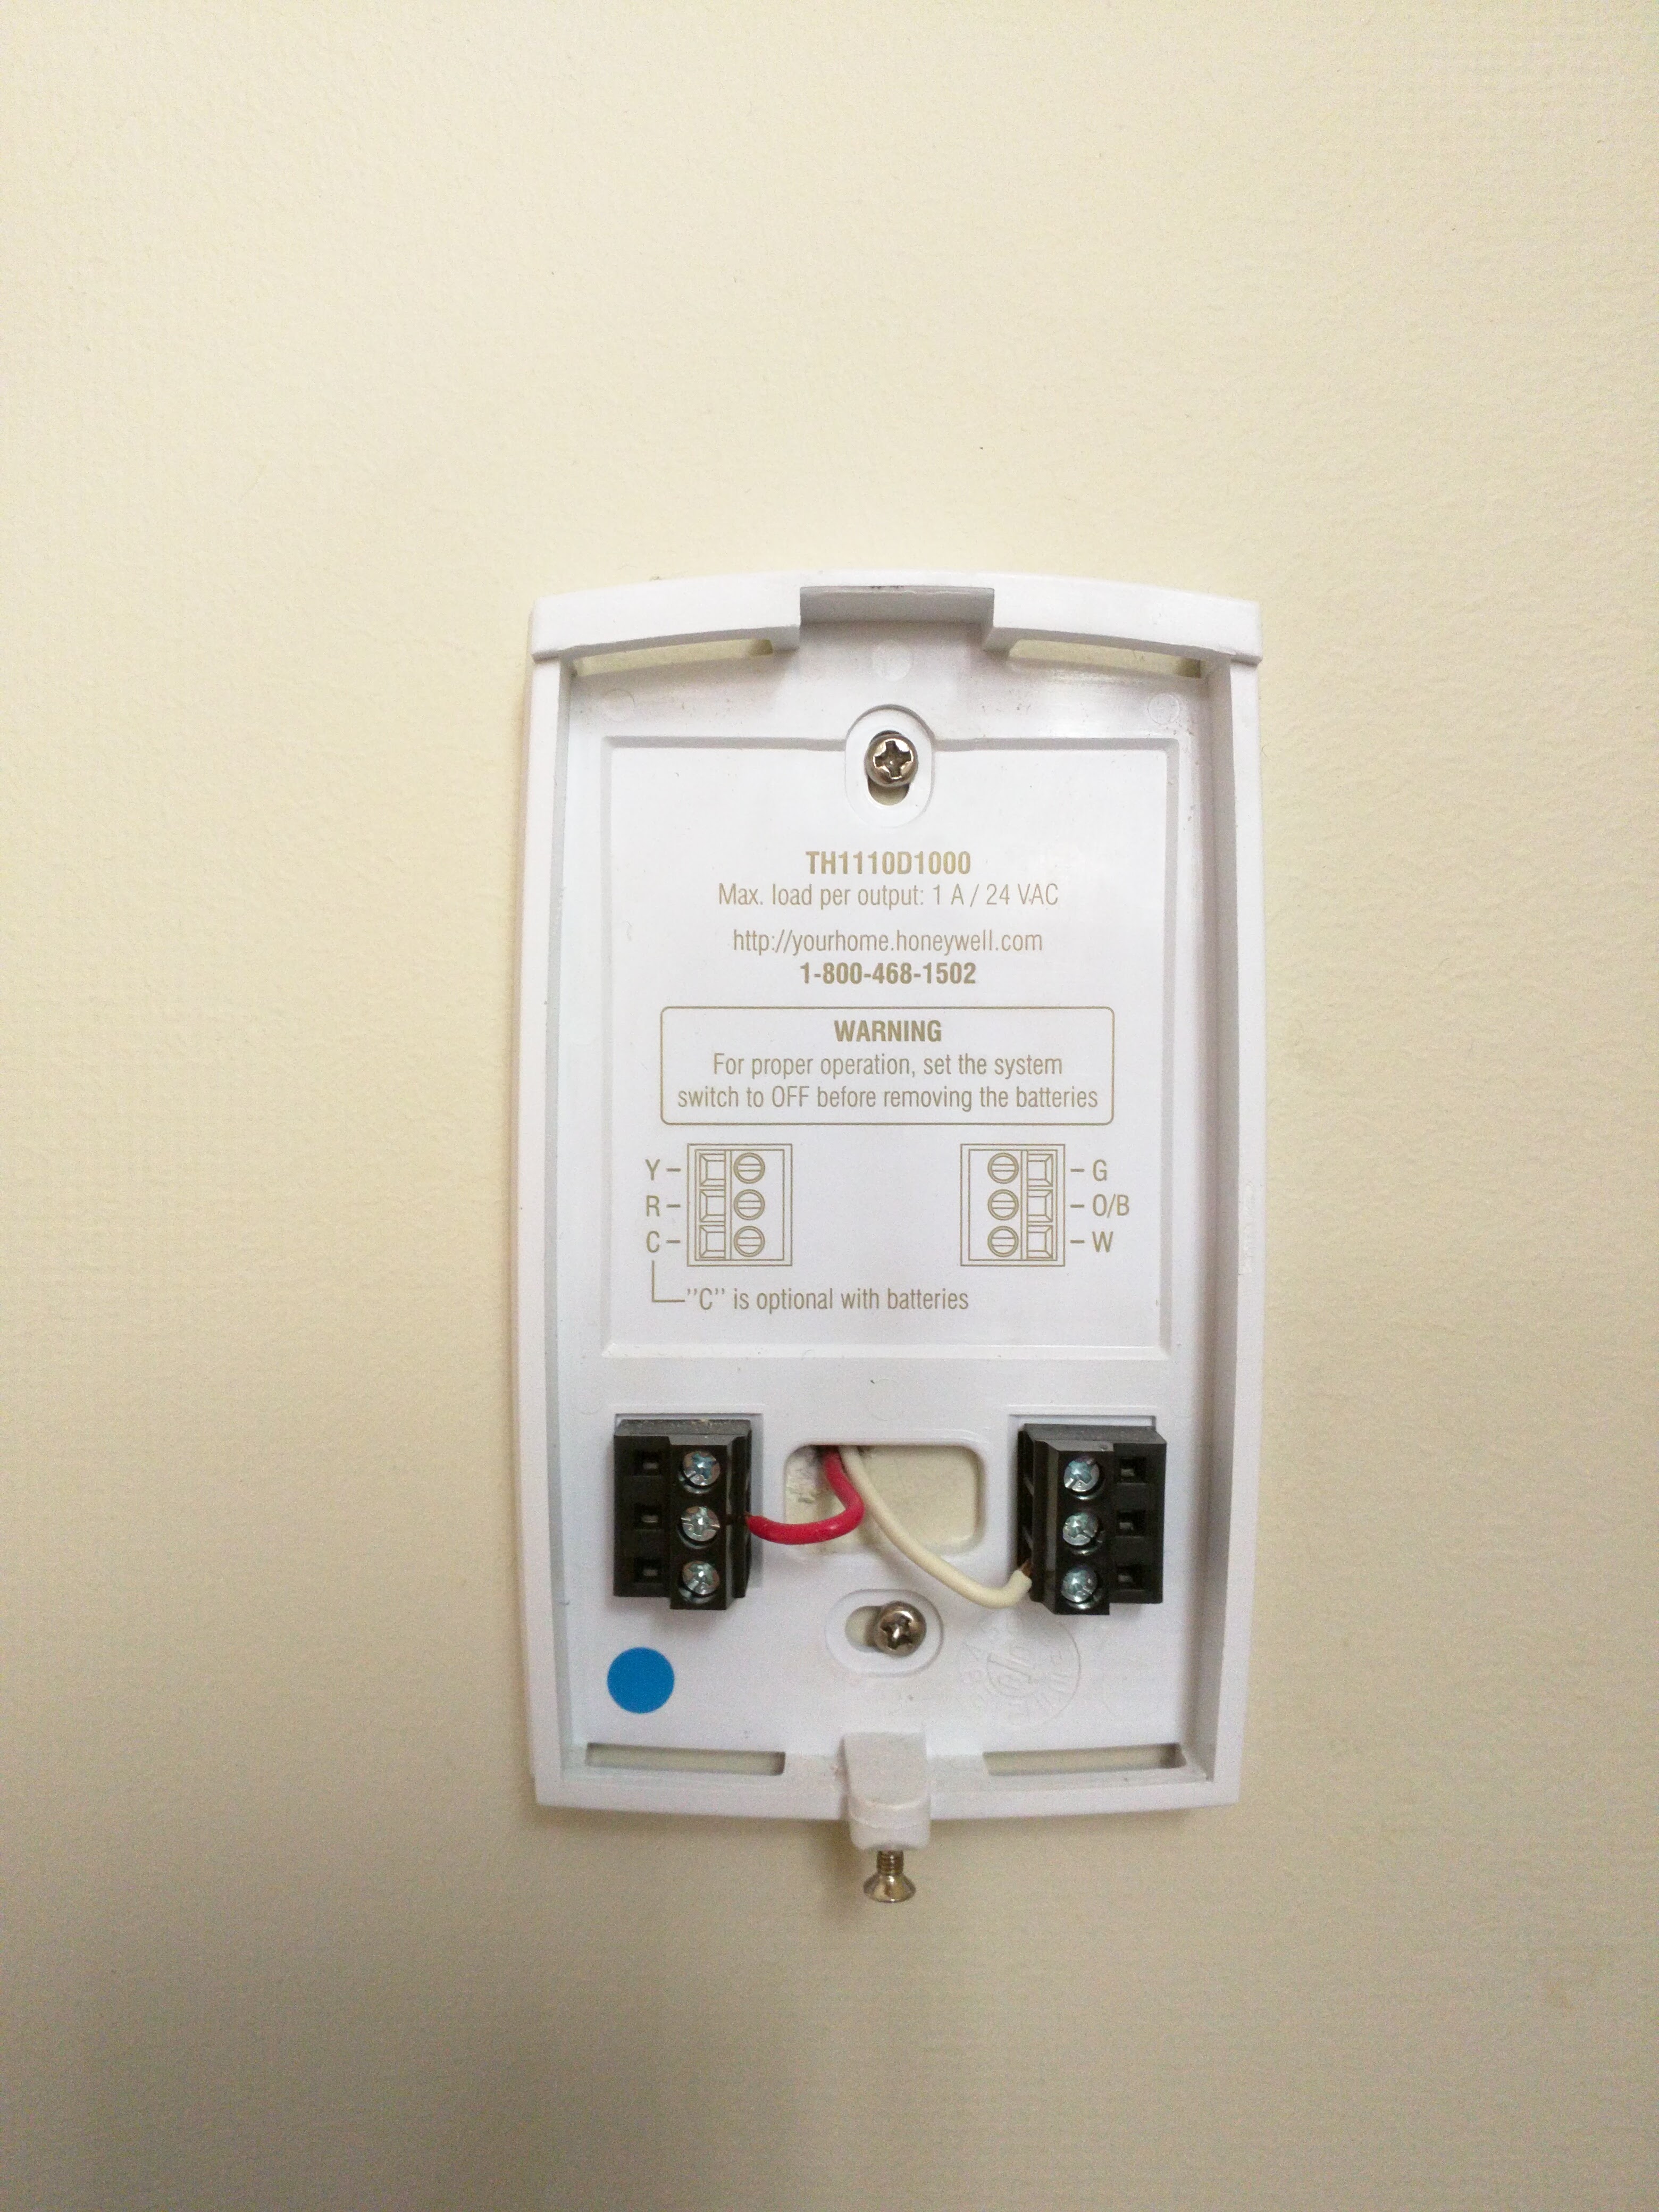
OK, what do those give? The meter shows 4.2V @ 1mA. If I short the two terminals, the fireplace turns on. 4.2V sounds good, but 1mA is not good enough (I guess I could do some sort of harvestor and Li-ion battery, but we’d have to charge it at less than the 1mA to prevent it from turning the fireplace on, and, well, that might be tricky to achieve and slow).
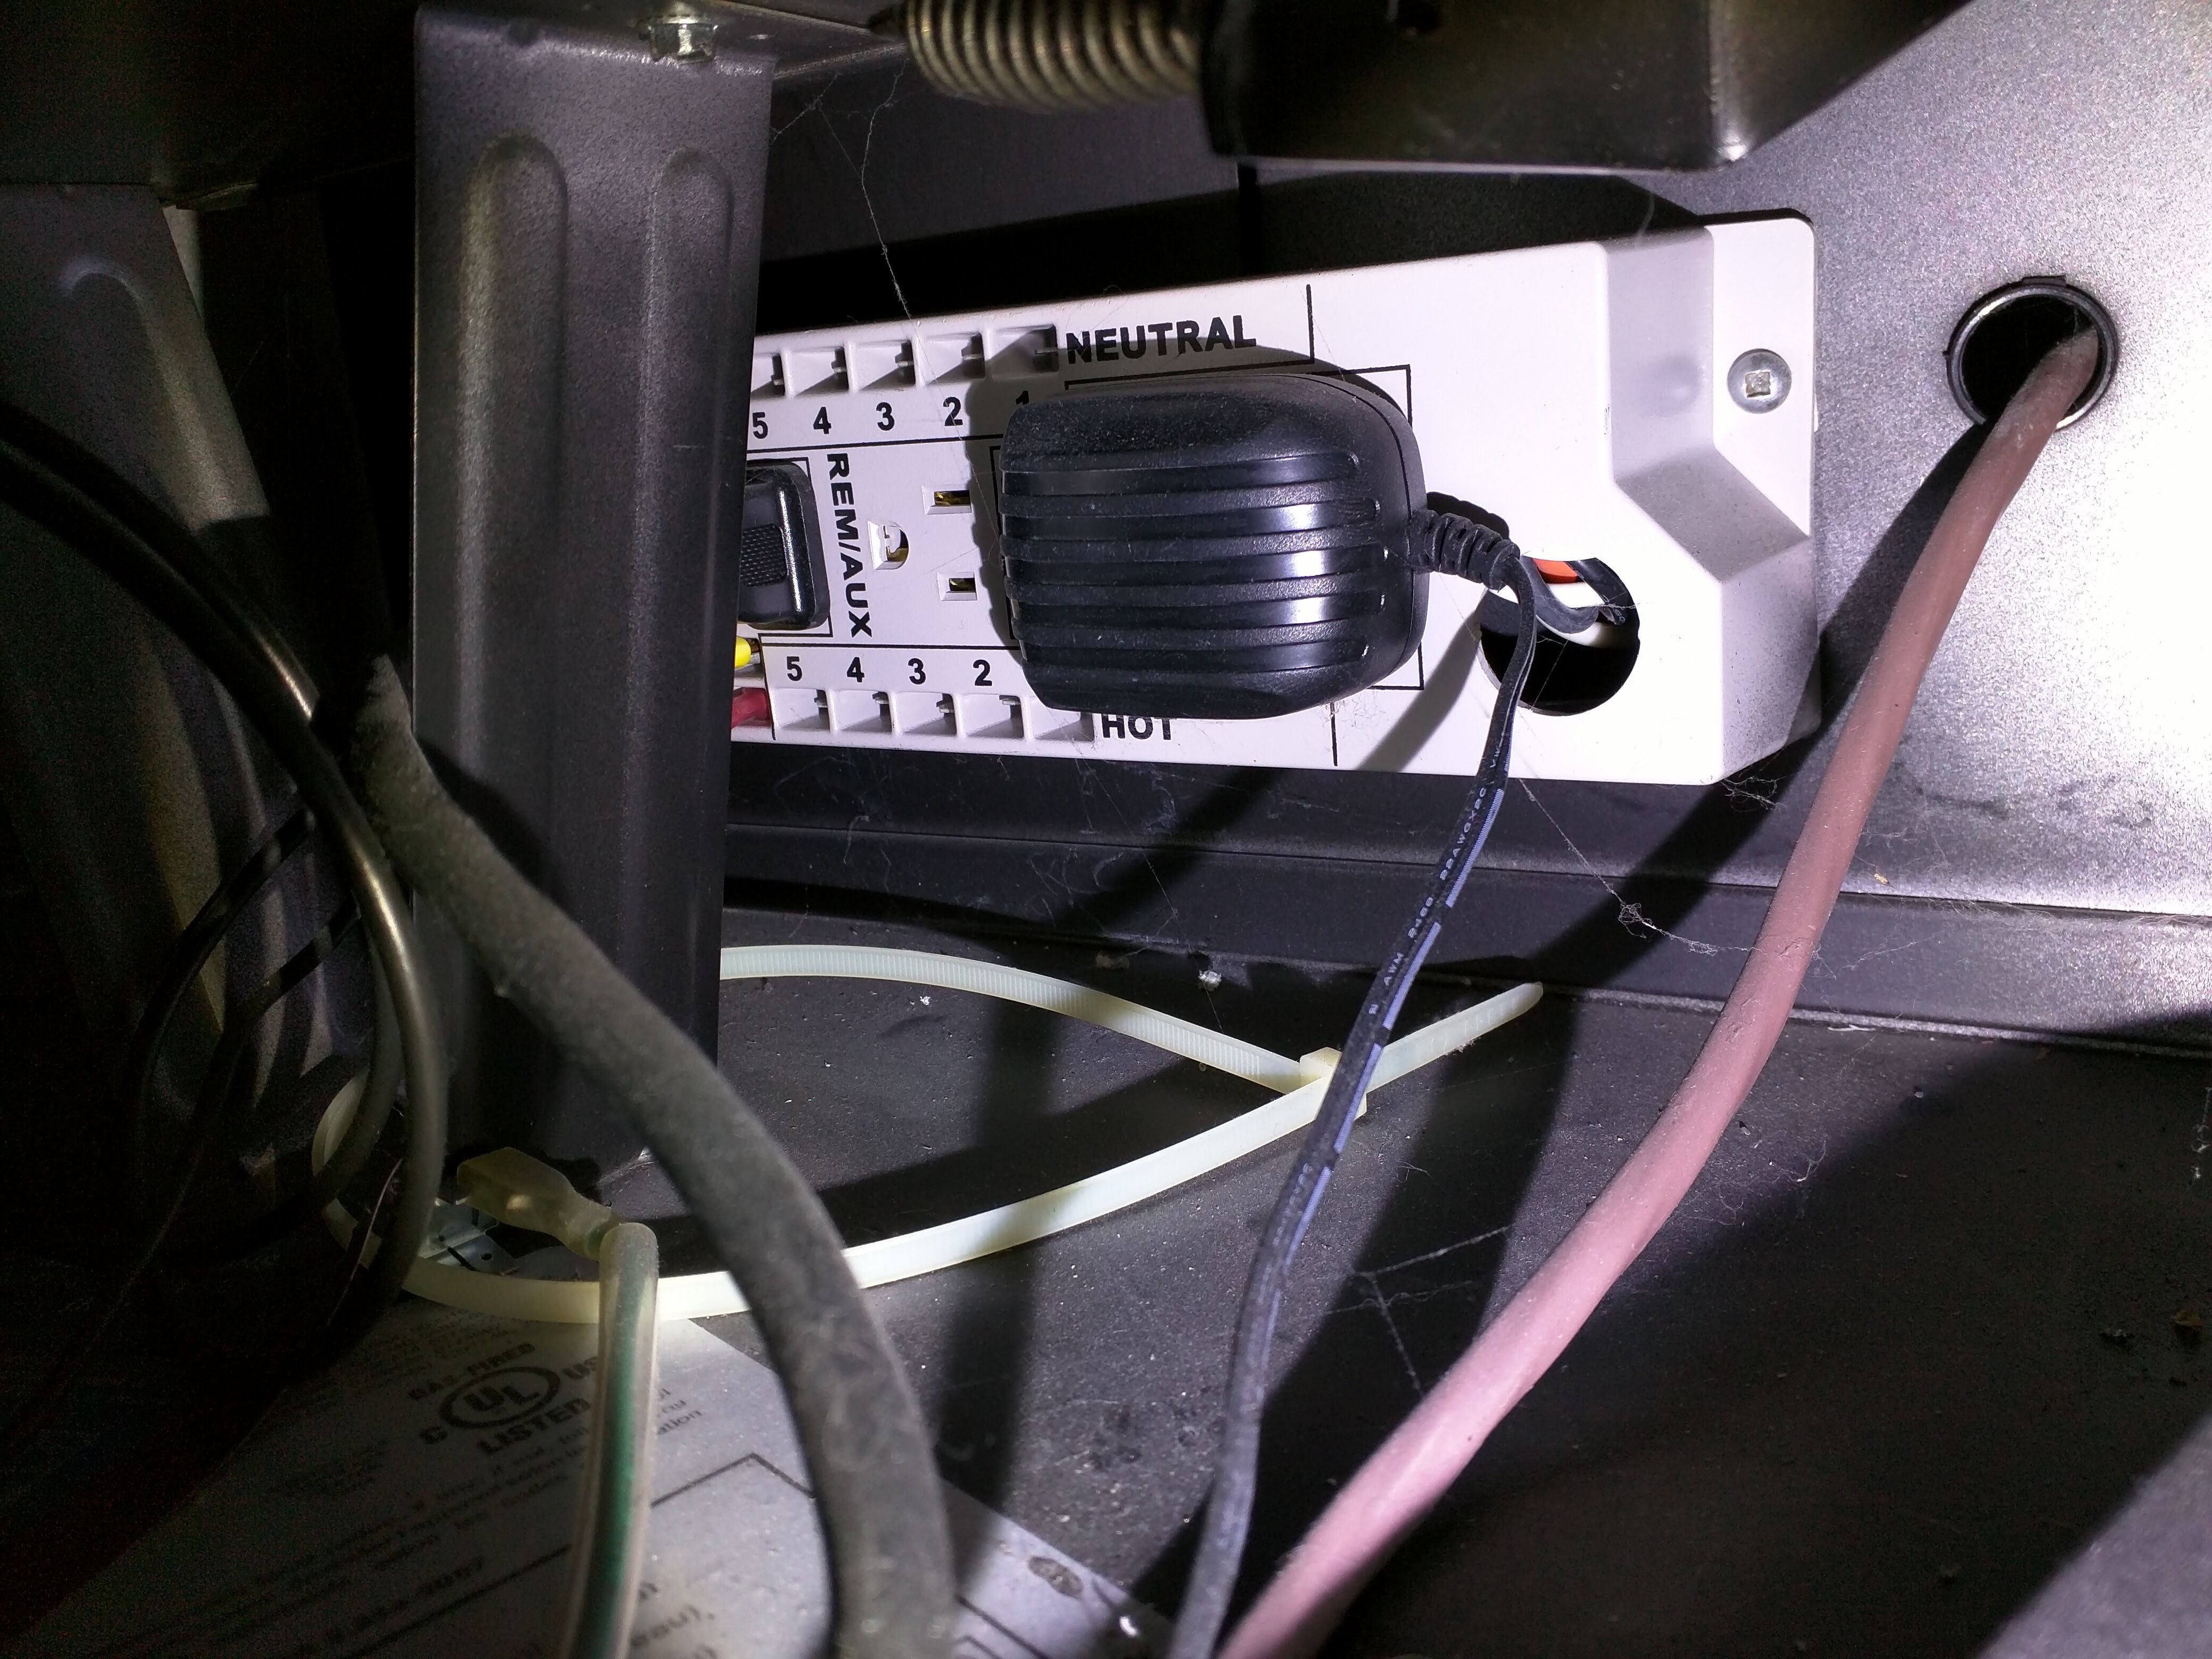
Lets look underneath. We have a gas inlet, a gas pressure regulator/switch, a thermocouple (thermopile?), a tiny power bar, and a 3V AC transformer. And, more interestingly, we can see the (brown) thermostat cable, with two unused wires (black/green). So, I think we can send power to the thermostat pretty simply, a 5V USB wallwart should do nicely, tie to the black/green wire.
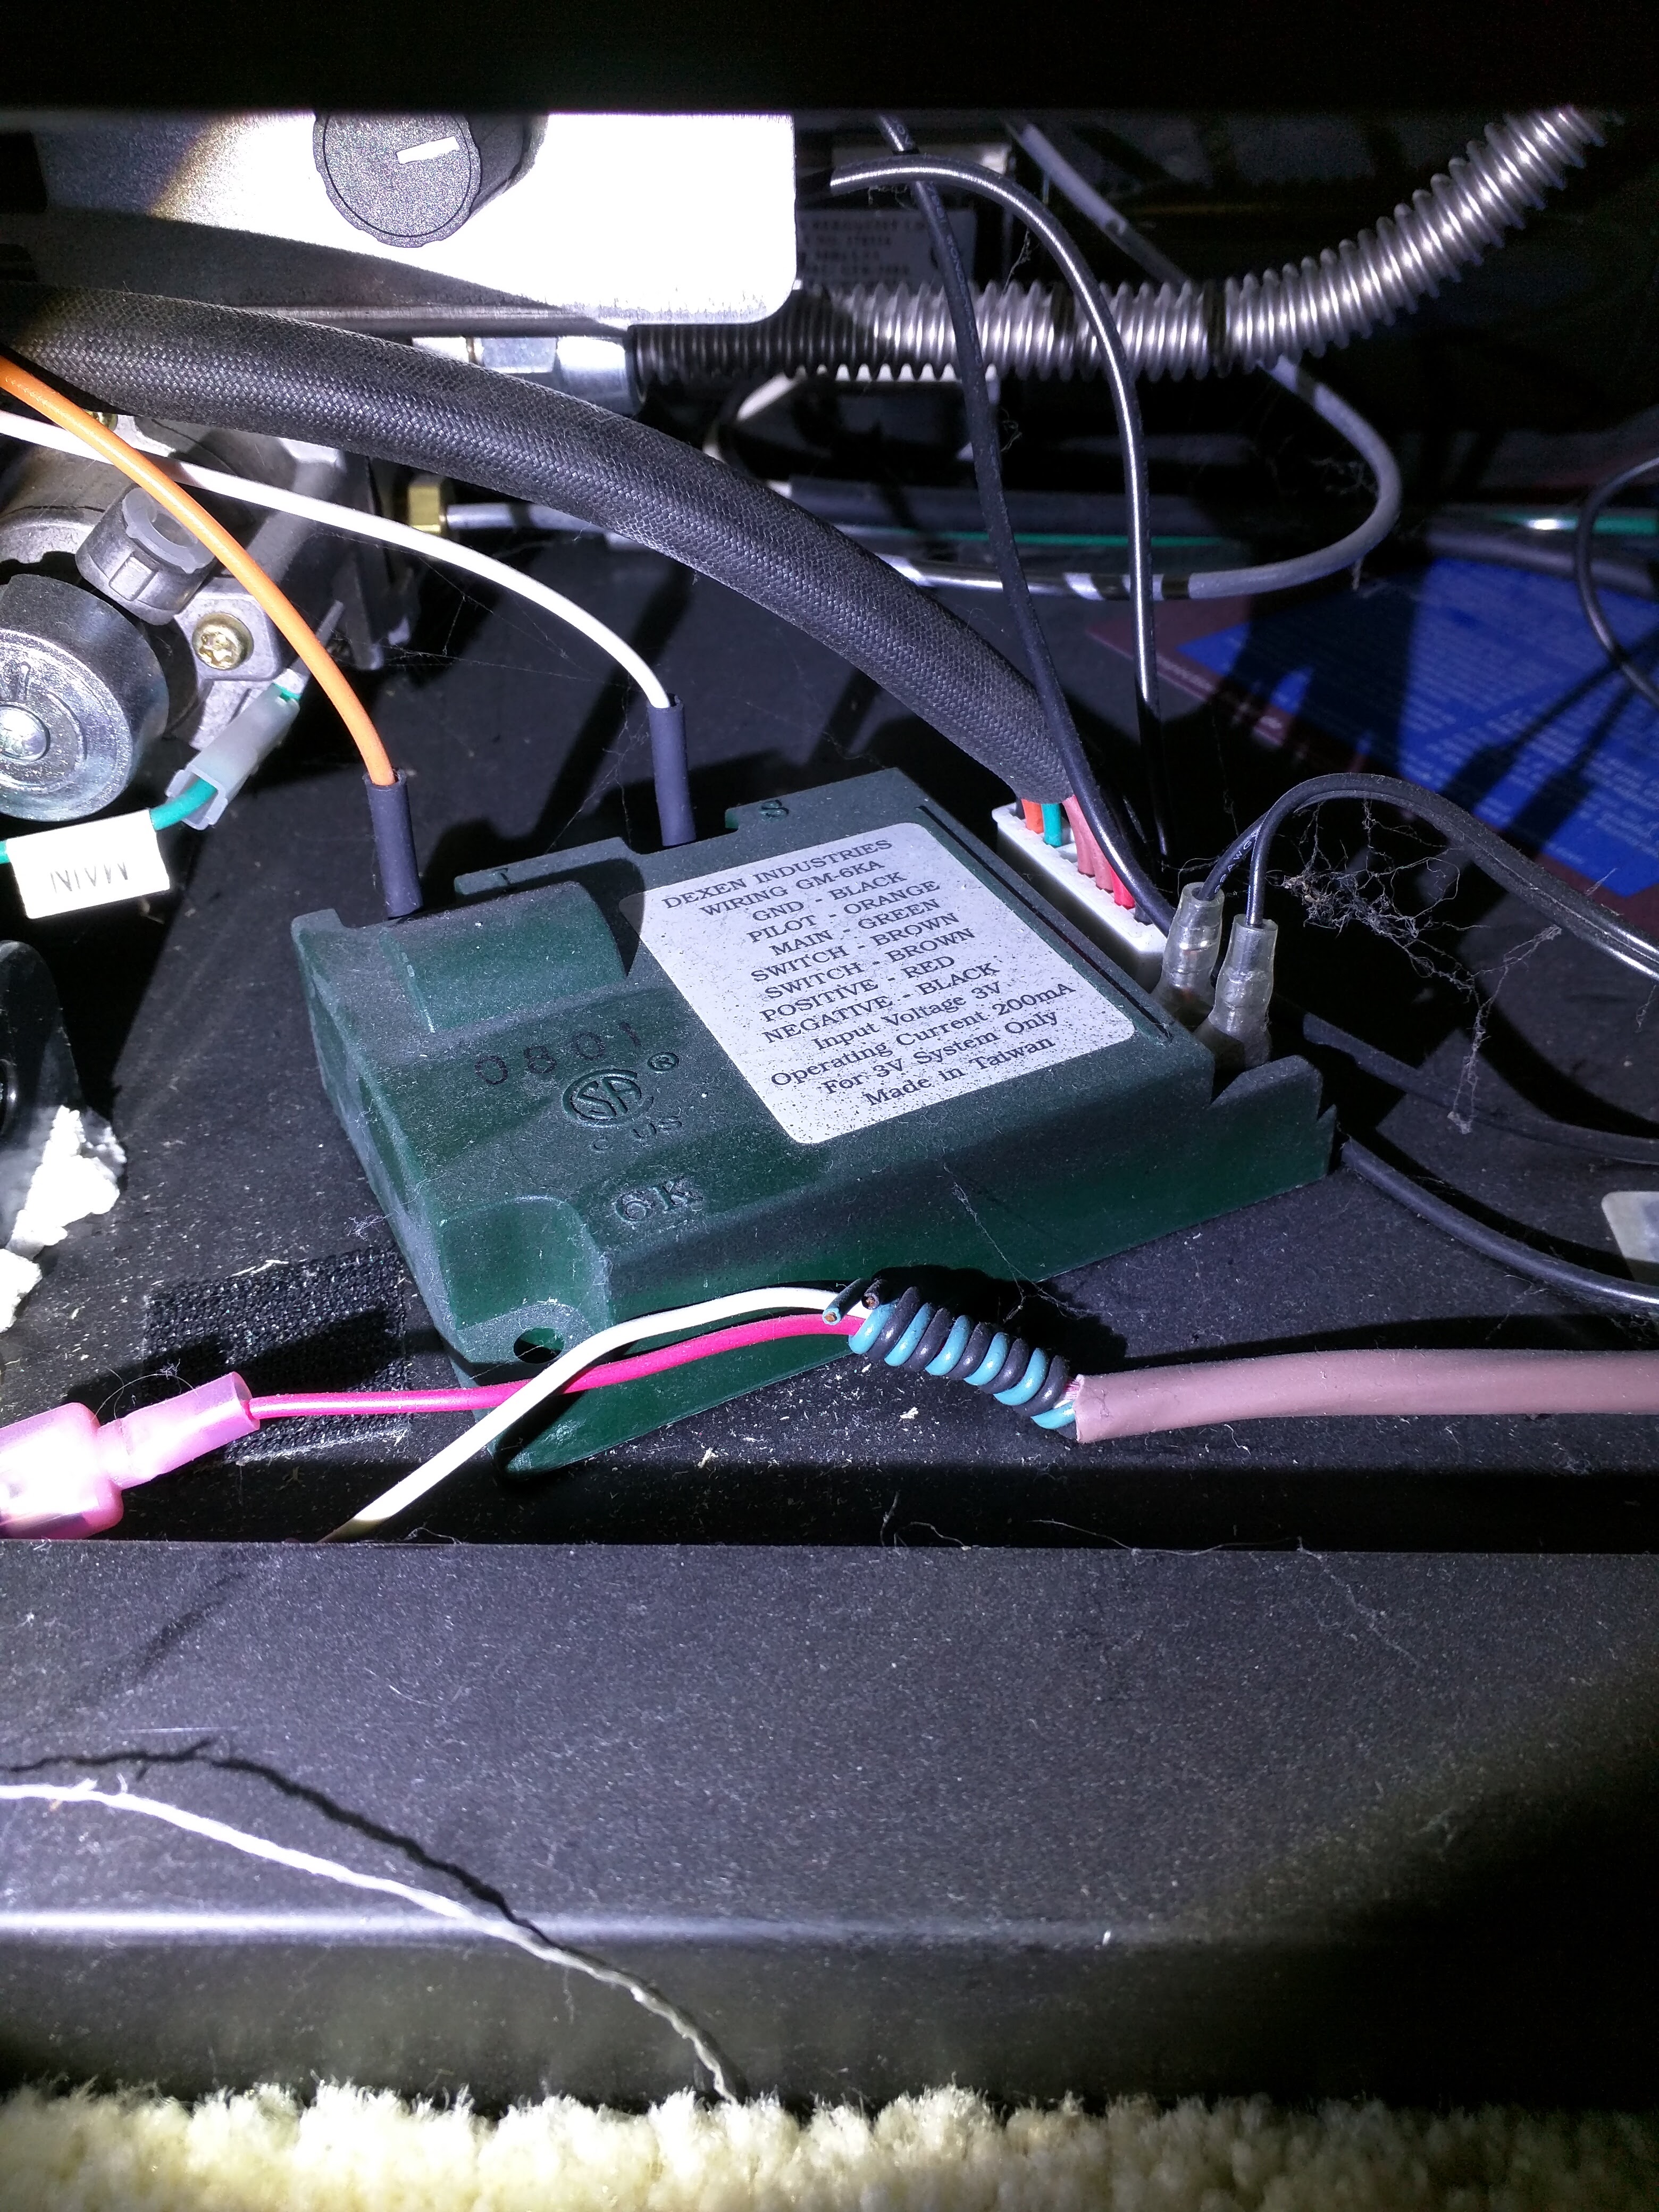
The fireplace is a heat&glo SL-750TR-IPI-E
OK, next, lets look at how to make this look nice and work well.
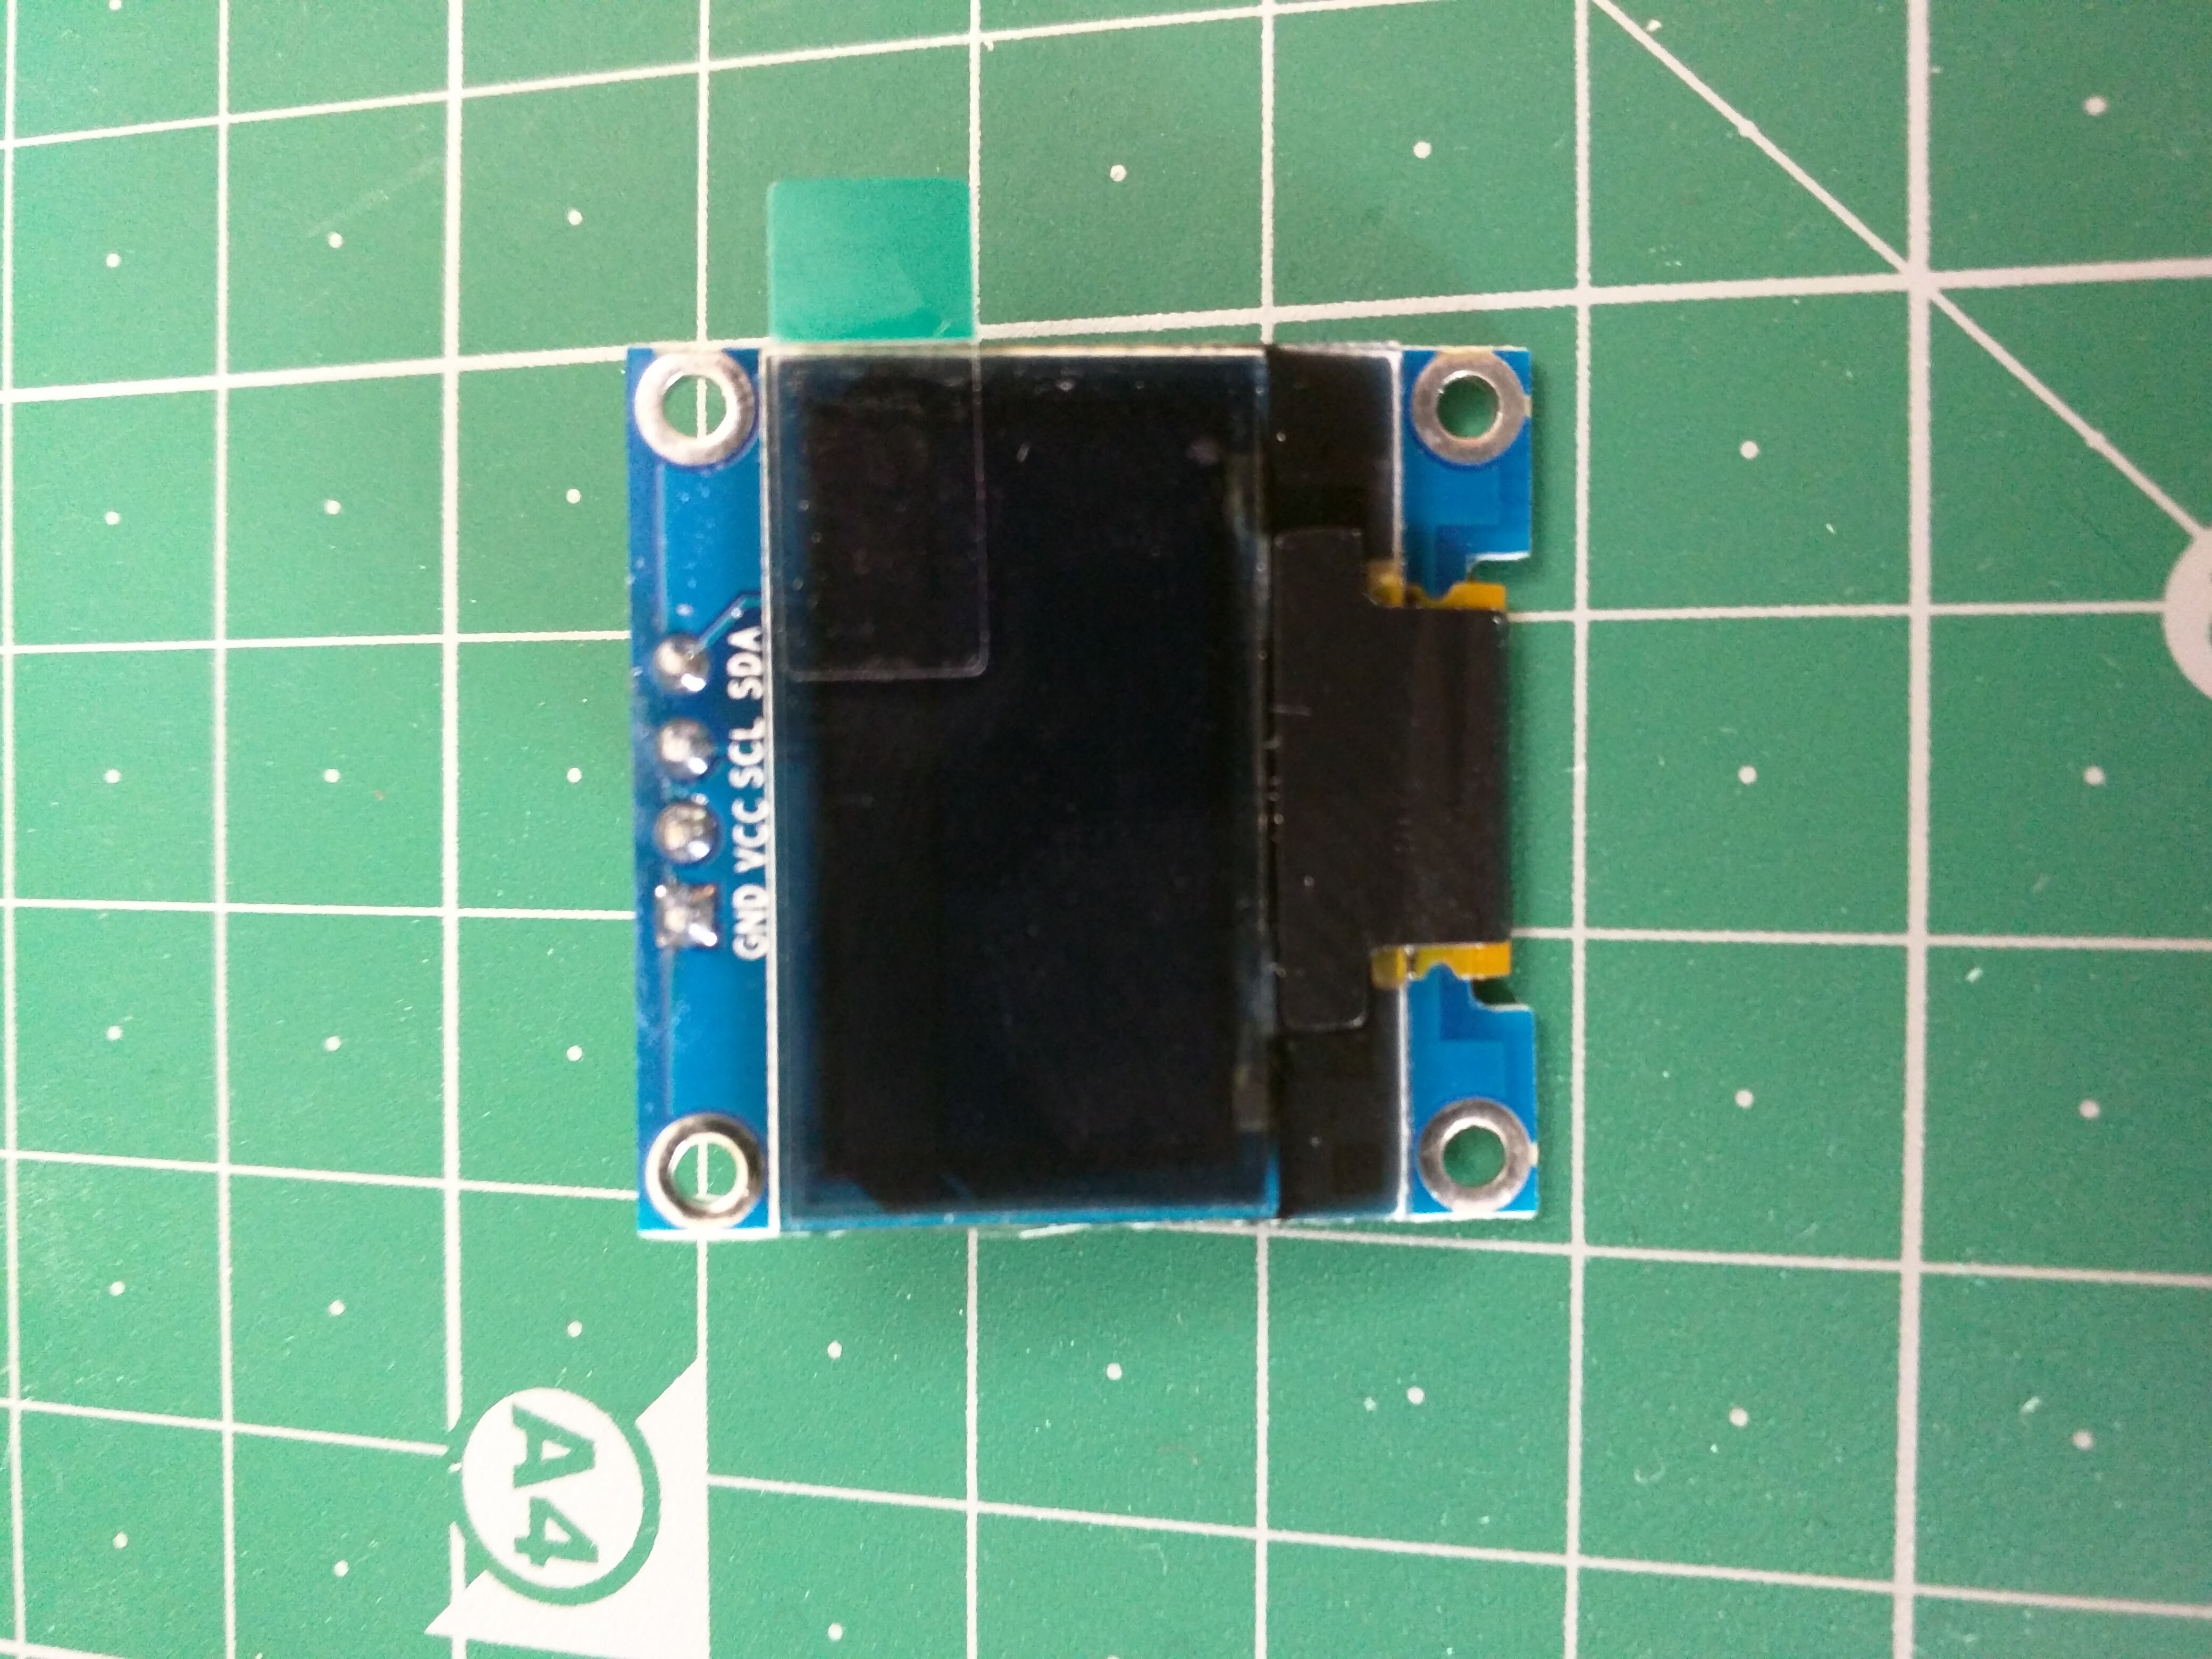 To work, well, lets imagine a bill of materials. We need to switch 4.2V @ 1mA. For that we can use a NPN transistor, e.g. 2N3904. We want to be able to locally control on/off/temperature, so for that we can re-use the front-panel up/down temperature switches. To add a display, we can use a 0.96″ OLED like this one, which fits more or less exactly in the aperture (well, the ribbon cable is visible, but that makes it more ‘techy’ so I think it will look ok.
We’ll need a temperature sensor. For this I can use either a Dallas Semiconductor (Maxim) DS18B20, using 1 GPIO pin, or a module like the DHT22/AM2320/AM2302 temperature/humidity sensor (also using 1 wire).
I might also want to use a Li-Ion battery and charge circuit, so that the fireplace can operate when the power is out (its one of the aux heat sources in the house, along with a pair of D-cells that run the fireplace bits and go super crusty/leaky if you are not looking!)
 And then for the brain, we can use a ESP8266. I have a choice, I can either use a -01 module, which means we would need a 5V to 3.3V buck converter, or, we could use a development module (like the wemos d1 mini) which has integral 5V to 3.3V supply as well as a USB port for debugging/uploading.
OK, now the theory would be: we let the ESP 8266 run the local logic. Measure temp, if temp < set point then turn on. If temp > set point + hysteresis, turn off. We then allow the set-point to be manipulated via MQTT (as well as reading the room temperature because ¯\_(ツ)_/¯).
We’ll do a bit of a de-bounce in software for the two front-panel switches, having them control the set-point (and broadcast this over MQTT of course). Then it will be a simple matter to hook it into Home Assistant.
OK so this is super-simple. USB 5V DC wall-wart, Li-Ion charger/3.3V supply module. ESP8266. 4k7 resistor, NPN transistor, Li-Ion battery, OLED display. Total BOM cost about $6. Probably take about 100 lines of C and a few hours to debug. Time to go scrounge the parts box to find the components. I’ll race you!
Leave a Reply